In this tutorial, we will cover how to set up your stripe account and connect it to your crowdfunding site.
Step 1: Create a Stripe account
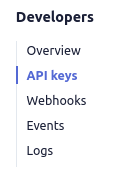
Step 2: After logging in, access your API Keys
Go to the Stripe Dashboard and click on the Developers option at the top right corner of the page.

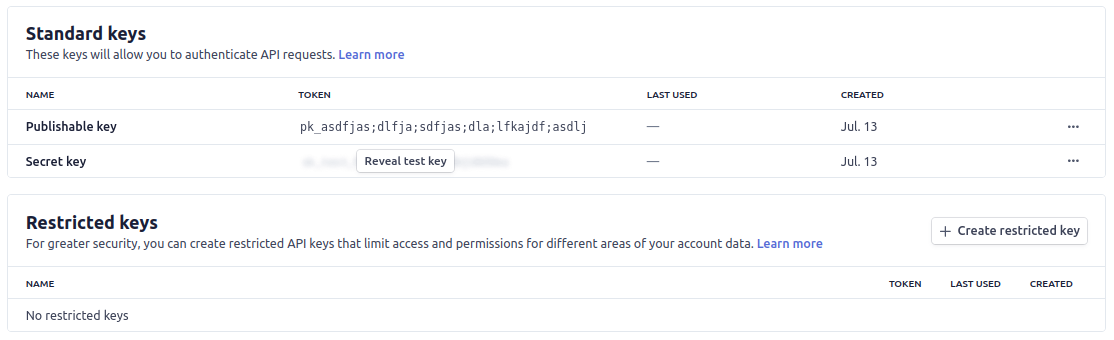
You will see a set of keys. To switch between TEST and LIVE keys, toggle the “Viewing test data” on the side. TEST keys are used for testing (Test Secret Key and Test Publishable Key) and the other for the actual live transactions (Live Secret Key and Live Publishable Key).
Note: If you want to use live data you have to make sure that you have activated your account. You will need to also fill out a form to connect your bank account.
Step 3: Copy and paste your API keys to your crowdfunding platform. It is located under Administrator Dashboard > Portal Settings > Payment Settings tab > Secret/Publishable key fields.
Stripe Modes allows you to toggle between using Test API keys and Live API keys. If you’re using the Test API keys, then make sure the Stripe Modes is set to “Test Mode”.

Step 4: Go back to your Stripe dashboard, add a redirect URI and copy/paste your Client ID to your platform.

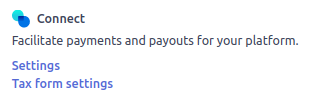
Click on the gear icon in the top right corner of the screen. In the Stripe admin dashboard, then scroll down and click on the connect settings. Make sure you turn the OAuth for Standard accounts setting ON.

Copy the Redirect URL that is shown in the payment settings page:

then go back to the Stripe administrator dashboard, click on the Redirect URI button that is highlighted red in the image above, and paste the Redirect URL into the following:

Once you paste the URL, click “Add URI”. When adding a redirect URL you have to make sure that this matches both the Stripe and your platforms URL in the payment settings. Check screenshot comparison below.
Also, don’t forget to copy your Client ID and paste it back to your crowdfunding platform’s payment settings as shown on the screenshot below.

Once these steps are done you are all set and ready to go!