
Are you at the stage of your crowdfunding campaign/platform where you would like to run some tests to experience the workflow? Many campaign creators and portal administrators will go through the experience themselves before launching or going live with real backers spending their hard earned money.
This article will cover how to create a test campaign and add test transactions to this campaign when using either Stripe or PayPal to process the transactions.
Understanding funding modes
There are a few prerequisites when it comes to making pledges on the platform. You should know the different funding modes that you can use for each campaign. There is Keep it All (KiA) and All or Nothing (AoN). Both of these funding modes will process the transactions very differently in regards to post charge and direct charge.
Since you can process transactions using different payment gateways, you can skip to the appropriate section for you by clicking the link below:
First, let’s try test payments with Stripe since this payment gateway comes with more options for configuration.
Testing Payments Using Stripe
As you may or may not know, there are 2 main ways to process the payments via Stripe.
- You can use Marketplace Mode.
- You can use Direct Transactions.
We are first going to look into processing the payments using marketplace mode.
Using Marketplace Mode
When using marketplace mode, you will need to create a new Stripe account in order to process the payment, hence the ‘marketplace mode’ feature. To get started, you can create a new Stripe account by logging going to Stripe.com and creating a new account. Once you have done this, you can keep the account in Test Mode.
Next, let’s start creating a campaign. Please note that you will need to already have your Stripe account connected to the platform.
To create a new campaign, you will need to be signed in as a user. Go ahead and create a new user, or sign in as a portal admin.
You can then click on the start button on the home page or go to your URL and add /start at the end of the URL.
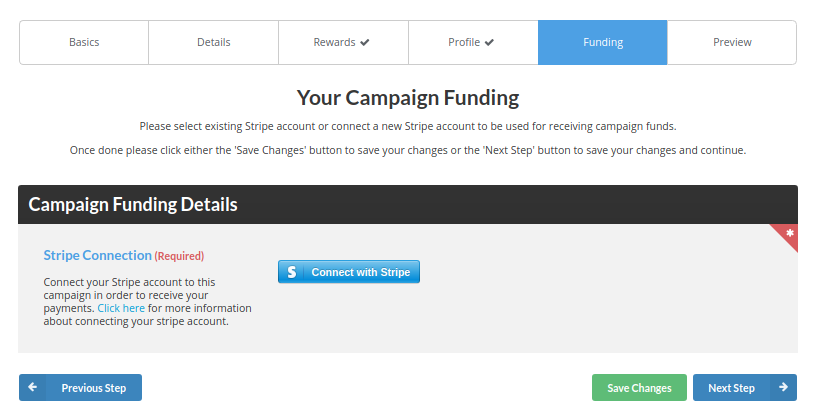
Start filling out all of the campaign creation steps.

You will end up on the funding step. Here you can click on the blue Connect button to connect your Stripe account to the campaign.
Make sure that you are not signed into the portal Stripe account. You will receive an error saying that you cannot connect a Stripe account to itself. Be sure to provide your email when prompted.
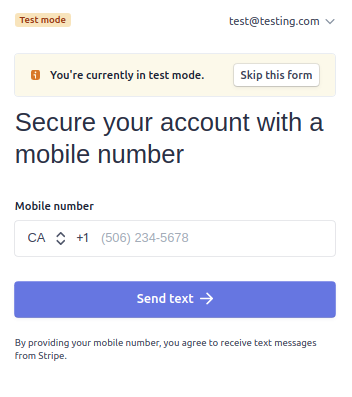
Confirm your phone number. Once you have done this, you will be prompted with the following.
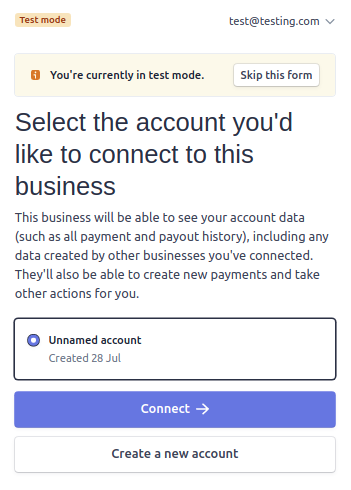
On the screen above, click on the “Skip this form” button. You must click the skip button when you arrive on that interface or you will have to fill in more information without the ability to go back.
Please note that the campaign you are testing must have the approved/running status, and the start time must be reached (specified in the Basics step). The time displayed on the platform is in PST by default. This can be changed, however, by following the steps on this FAQ here.
You are now ready to make a test pledge. After making the pledge, you can view the transaction in the campaign account by going to the payments page in the Stripe dashboard.
If you are testing an All or Nothing campaign with Post Charges enabled, you will need to follow these steps here.
Next, let’s take a look at how to do the same but with Direct Transactions.
Using Direct Transactions
This method is much more simple as it does not require you to connect a Stripe account to the campaign. Instead, you can simply create a campaign (as shown above for marketplace mode), and start making test pledges with Stripe.
Making Test Pledges With Stripe
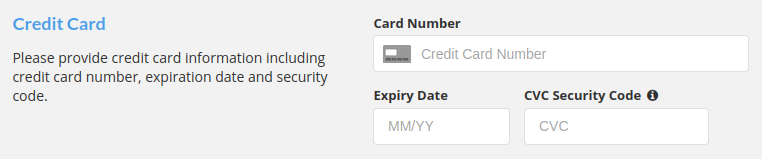
When using Stripe for processing payments, there are particular test credit cards that you can use. More information can be found on the Stripe website here: https://stripe.com/docs/testing
When using the test cards, you can add whatever you would like for the expiry date (as long as it’s in the future), and anything for the CVC.
Testing Payments with PayPal
Processing the test payments with PayPal is different than using Stripe. For starters, PayPal does not have all of the same capabilities that Stripe offers. You will only be able to use the Direct Transactions scenario where all of the contributions will go into one single account that is connected to the platform.
To start making test transactions, simply create a new campaign. You can do this by clicking on the Start button on the home page or going to your URL and add /start at the end. Next, go through the campaign creation steps
Please note that the campaign you are testing must have the approved/running status, and the start date/time must be reached (specified in the Basics step). The time displayed on the platform is in PST by default. This can be changed, however, by following the steps on this FAQ here.
You are now ready to make a test pledge with PayPal.
Making Test Pledges with PayPal
If you are using a test account, you can only pledge using one of the sandbox accounts that you have. So you can go back to the accounts interface as per step 3 in this article, and click the View/edit account link for the account that you want to pledge with.
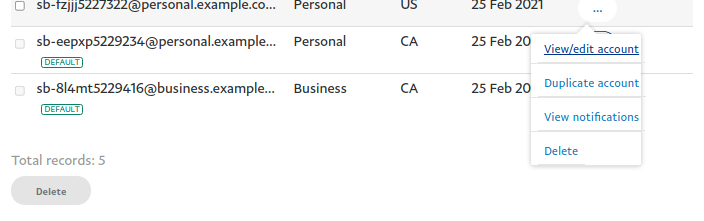
If you would like, you can also create a new account to pledge with on that same page. When you click on the View/edit account button, you will see there is a Funding tab.
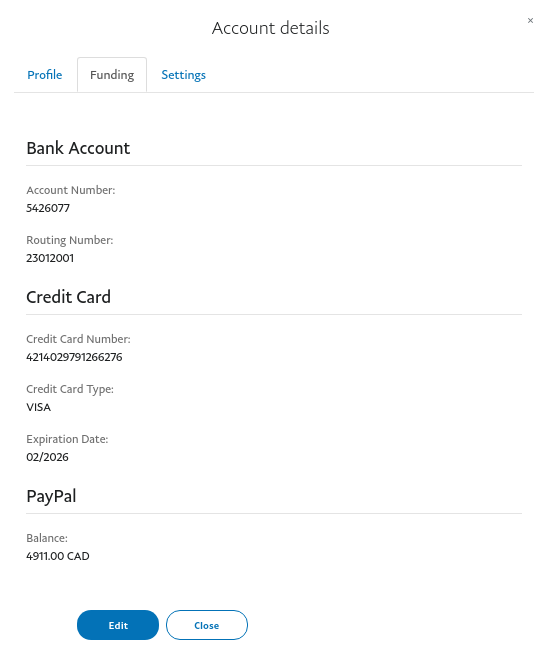
In this funding tab, you can see the credit card information to add when making a test pledge. More information about test payments for PayPal can be found here.
Once you have made a successful pledge, be sure to check that the pledge has been captured into the correct account.
You will need to log into the account that is connected to the platform via the following link if you are testing: https://www.sandbox.paypal.com/
If you have any questions about this process, you can always contact us, or join our live Discord chat.